This mod will probably only take a couple of hours. Really simple.
MAKE SURE your car is sitting on the level ground and that the suspension is under load before installing ANY sfc!!!
Tools
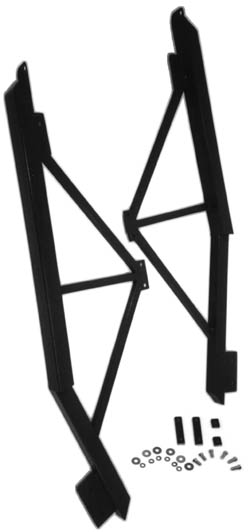
SLP Bolt-on SFC
(here is what you get)
A few sockets and combination wrenches (i forget the sizes)
Torque wrench
Some metal shears and a pair of needle nose pliers will help modify the heat sheild
NOTES :
- Make sure that no matter what sfc you use - the car must be level and the suspension
underload before tighting/welding them on!
- only do 1 side at a time! if you undo both the driver and passenger side
rear lower control arms - the rear end will probably shift on you and
you'll have a tough time getting it back.
- as for bolting these on compared to welding - i have never had any trouble with mine
at all. i have also never seen anyone (who has them) post anything bad about them (holes
elongating, bolts coming loose, etc). don't listen to those guys that want to weld
everything onto their car, that's ok to do - but not completely necessary. if i ever
need to get my stuff off someday... i'll be able too ;-)
ok - i did my car while it was sitting on my garage floor. i used a floor jack to lift it long enough to get the bolts started in the crossbrace and to trim the heat sheild. other than that - i could reach everything else while the car was sitting on the floor!
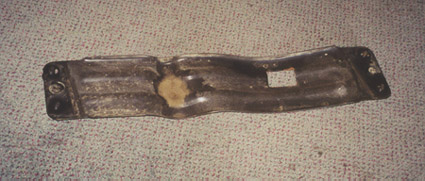
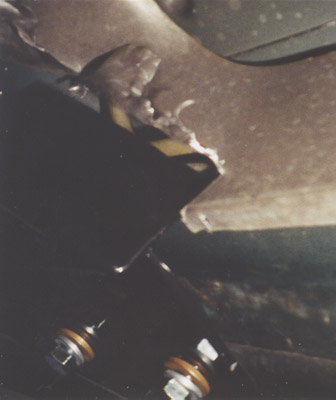
remove the crossbrace from the center of the car. there are 4 bolts holding it on. here is a pic of it removed.
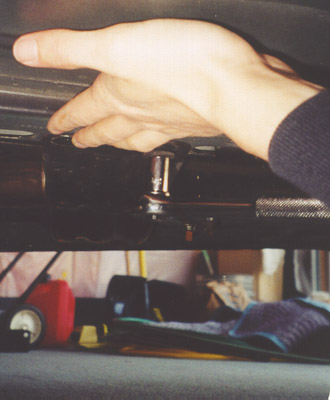
then start at the rear. remove the bolt holding the LCA to the frame. i stuck a combination wrench on the back and lodged it against the ground so it wouldn't turn. stuck a socket wrench on the bolt and took it out.
install the rear of the sfc and replace the bolt - do not tighten yet.
install the front of the sfc (on the driver side - see the note at the bottom about modifing the heat sheild). place the bar into the hole on the frame, line it up so the holes match, lift the sfc into place, and install the bolts. it will be tough to get them started without the bar moving on you. once you get it started you will be fine. again - do not tighten the bolts yet.
then get the center bolts started. place the sfc against the car and then put the crossbrace back on, then bolt it up. on my car these holes didn't quite line up, the bolt would start to go in - but would cross thread. so i got a dremel tool and widened the holes in the sfc just a tad.
repeat the above procedures on the other side of the car.
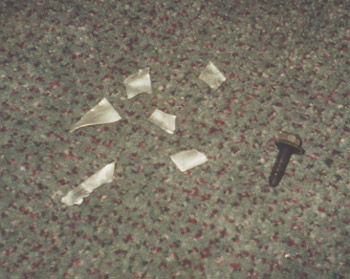
on the front of the driver side you will need to modify the heat sheild covering the fuel lines. some people have had to raise the lines a little. some people have also gotten away with bending the heat sheild out of the way and not trimming it. i trimmed mine a little and and then bent it out of the way. some metal shears and a pair of pliers make this a simple task. here is a pic of the pieces i cut out. as you can see, you don't have to trim much.
once you get everything on, MAKE SURE THE CAR IS LEVEL AND THE SUSPENSION IS UNDER LOAD. then tighten the bolts down to spec...
| rear LCA | 87 ft/lbs |
| crossbrace | 27 ft/lbs |
| SLP bolts in the front | 59 ft/lbs |
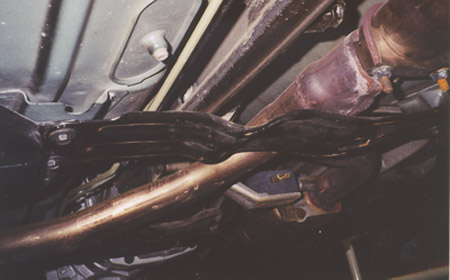
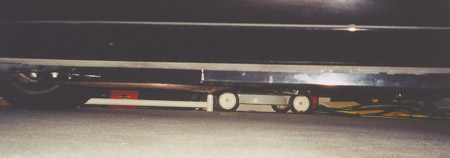
yes the slp sfc hang just a tad. mine hang down about .5" from the doors. but they
still not as low as the stock y-pipe!
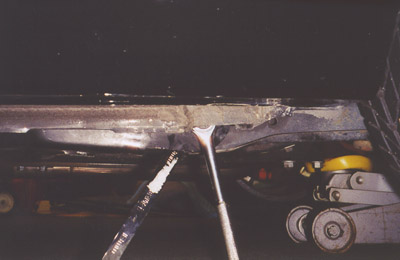
Clearance - front
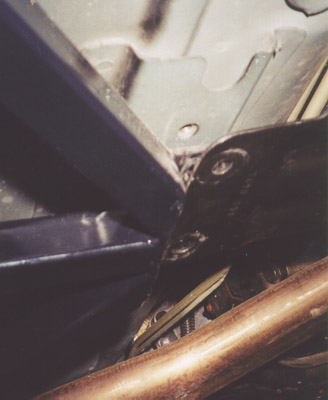
Clearance - rear